The Easiest Garage Door to Install Yourself
Finding the easiest garage door to install is key for a DIY success. We look at weight, parts, and security when choosing. Manual doors are lighter and simpler, making them perfect for DIY projects.
Exploring garage door installation, we see the importance of the right door and opener. With the right help, DIY installation can be rewarding. We’ll guide you on the easiest doors to install, ensuring you’re well-informed.
We aim to give a detailed guide for DIY garage door installation. We’ll cover benefits, tools, and step-by-step processes. By the end, you’ll be ready to install your garage door confidently, knowing you’ve made the right choice.
Why DIY Garage Door Installation Makes Sense
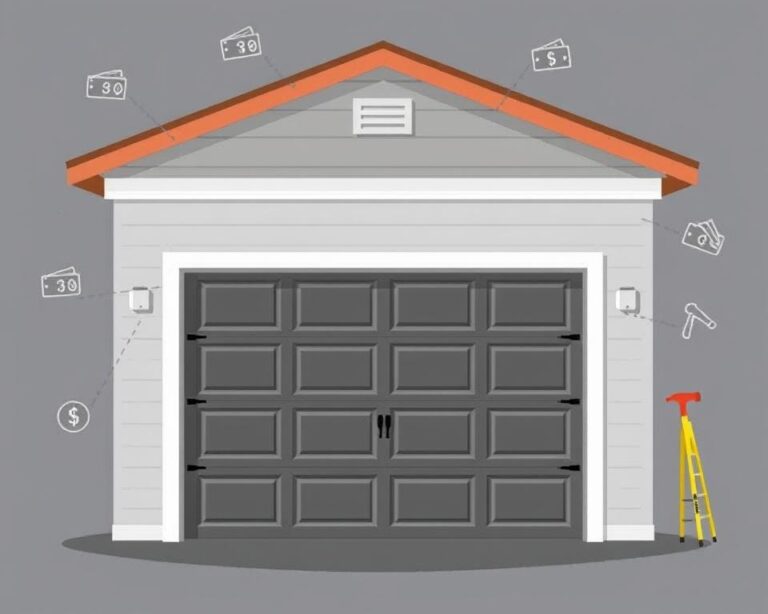
We think DIY garage door installation is easy and saves money. Homeowners can do it themselves and feel proud. With the right tools and instructions, it’s quick and simple.
DIY garage door installation saves money. Professionals charge a lot for their work and time. If you’re good with tools and following instructions, you can save even more.
Cost Savings of Self-Installation
DIY installation can save up to 30% on labor costs. This is a big savings, if you’re handy and know how to use tools.
Time Flexibility Benefits
DIY installation gives you time flexibility. You can work at your own pace, without waiting for a professional. This is great if you’re busy or like to work alone.
Satisfaction of Personal Achievement
DIY installation also brings personal satisfaction. You’ll feel proud of completing the job yourself. It’s a great feeling, perfect for DIY enthusiasts.
Essential Tools and Materials for Your Installation
For a smooth garage door installation, you need the right tools and materials. Start with basics like adjustable wrenches, socket sets, and a drill with various bits. These help you secure the garage door system properly.
A level is key for mounting the garage door opener straight. Safety gear like gloves and safety glasses protect you from harm. Winding bars and locking pliers are also must-haves for spring repairs.
Here are more tools and materials you should consider:
- Set screws to hold winding cones in place
- Screwdrivers in different sizes
- WD40 and other maintenance supplies to prevent corrosion
- Sturdy ladders for installation and upkeep
With these tools and materials, you’re ready for a successful garage door setup. Always follow safety rules and use the right tools to avoid injuries. This way, you’ll have a safe and easy garage door installation.
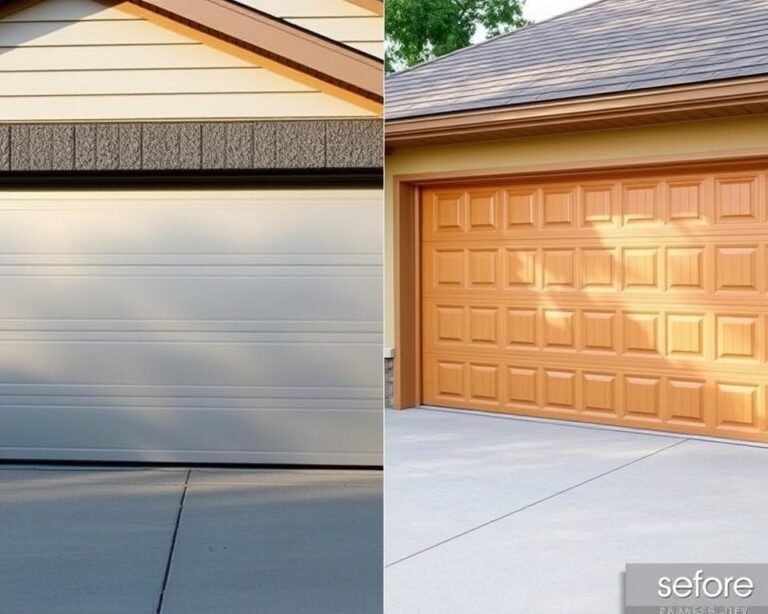
Choosing the Easiest Garage Door to Install
When picking a garage door for a DIY setup, we look at several key factors. We aim for an installation that’s both easy and affordable. The type and material of the door greatly influence how simple it is to install.
For example, up-and-over doors are often the easiest to put in. They have a single panel and few parts. This makes them simpler than other types of doors.
The material of the door is also important. Doors made from aluminum or vinyl are lighter and easier to handle. They need less powerful motors, like a 1/2-horsepower one, which is enough for most single-wide doors.
Roll-Up vs. Sectional Doors
Roll-up and sectional doors are more complex to install than up-and-over doors. They need more space and have more parts, making the job harder. Up-and-over doors, on the other hand, are simpler to install. They usually need only two people to set up.
Material Considerations
The material of the door also affects how easy it is to install. Doors made from wood or fiberglass are heavier. They need motors with more power, from 3/4 to 1-1/2 HP. Doors made from aluminum or vinyl are lighter and easier to install.
In conclusion, choosing the right garage door depends on several factors. These include the door type, material, and motor needed. By considering these, we can make the installation process simpler and more affordable. This makes DIY garage door setup more achievable.
Pre-Installation Safety Measures and Preparation
Before starting the garage door installation, we must take safety steps and prepare the area. A smooth installation needs careful planning and focus on details. We should clear the space of any obstacles to make mounting and placing the door easy.
We’ll start by setting up our workspace as the manufacturer suggests. This means keeping the area well-ventilated, clean, and dry. We’ll also gather all needed tools and materials, making sure they’re in good shape and easy to reach.
Workspace Setup Requirements
A tidy workspace is key for a successful installation. We’ll need to:
- Clear the area of any debris or obstacles
- Ensure the floor is level and even
- Set up a sturdy workbench or table for assembling the door sections
By doing these steps, we can make the garage door assembly easy and safe. Always put safety first and take steps to avoid hazards.

Personal Protection Equipment
Wearing the right gear is important when handling heavy items and power tools. We should wear:
- Safety glasses or goggles
- A dust mask or respirator
- Steel-toed boots or shoes
- Gloves to protect our hands from cuts and abrasions
These precautions help ensure a safe and easy installation. Always follow the manufacturer’s guidelines and take breaks to stay alert.
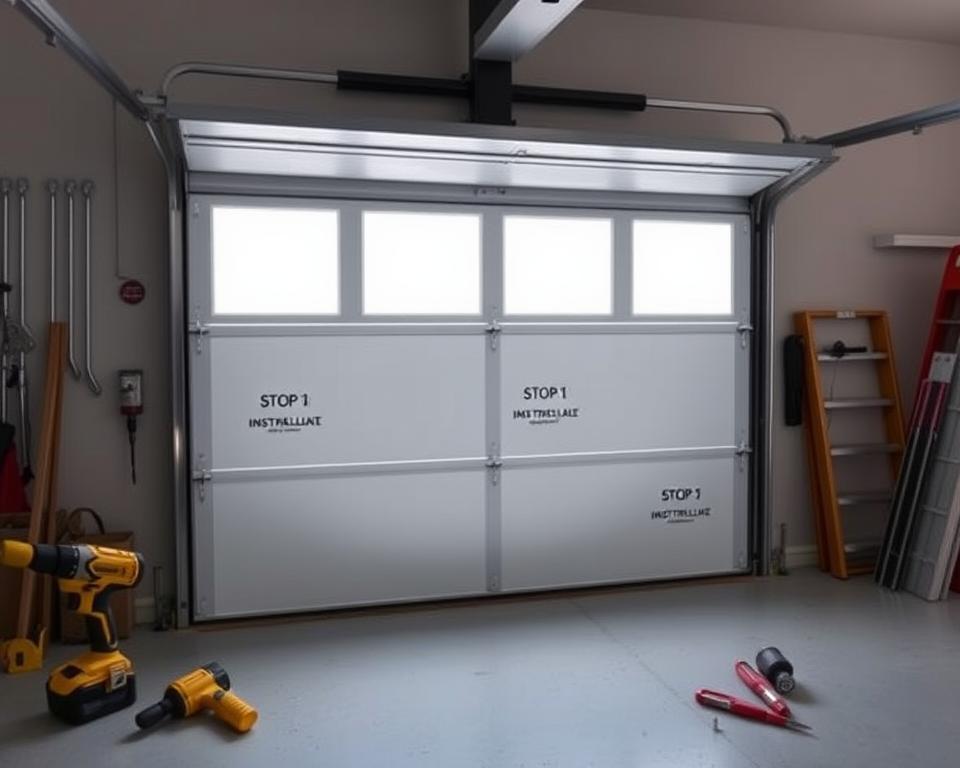
Step-by-Step Installation Process
For a smooth garage door installation, it’s key to follow a clear setup process. Begin by clearing the workspace of any obstacles or debris. This makes the installation area safe and efficient.
Assembling the garage door panels is a critical step. These panels are made slightly smaller than the opening for a perfect fit. It’s also important to use at least three hinges at the top of each panel for stability.
Some important steps to consider during the installation process include:
- Installing the torsion spring system kits for a safer and more effective setup
- Using a stud finder to locate joists and ensure proper alignment
- Leaving a little space between the track and door frame to prevent friction
Regular maintenance, like lubrication, helps prevent rust and extends component life. By following these steps and considering factors like proper alignment and spacing, you can ensure a successful and convenient garage door setup. Always follow the manufacturer’s instructions and take necessary safety precautions to avoid any hazards.
Common Installation Challenges and Solutions
Installing a garage door can be tricky. One big problem is making sure it’s aligned right and works smoothly. If the tracks aren’t set up right or the springs are off, it can get complicated fast.
Some common problems we face during installation include:
- Track alignment issues, which can cause the door to bind or stick
- Spring tension problems, leading to uneven door movement or loud noises
- Weather sealing concerns, resulting in air leaks or water damage
To solve these issues, we must follow the manufacturer’s instructions closely. We also need to take safety precautions seriously. Regular maintenance, like oiling the tracks and rollers, helps avoid problems and keeps the door running smoothly.
Choosing the right garage door and following a simple installation guide can help avoid many issues. This way, we can have a hassle-free experience.
Another challenge is making sure the hardware and rails are installed correctly. It’s also important to follow safety standards for automatic openers. Not doing so can cause problems or even accidents. By focusing on safety and following the manufacturer’s guidelines, we can ensure a successful installation.

DIY Garage Door Installation: A Step-by-Step Guide
Embarking on a DIY garage door installation project can be a rewarding experience. With the right tools and a clear understanding of the process, you can save money and gain a sense of accomplishment. Here’s a step-by-step guide to help you through the installation journey.
Tools and Materials Needed
Before you start, make sure you have all the necessary tools and materials. This includes a garage door opener, a garage door, a garage door opener motor, a garage door opener remote, and a garage door opener wall control. You’ll also need a drill, a screwdriver, a tape measure, and a level. Having these tools on hand will ensure a smooth installation process.
Step 1: Prepare the Garage
The first step in the DIY garage door installation process is to prepare the garage. Start by removing any obstructions, such as old garage doors or debris. Measure the width and height of your garage door opening to ensure the new door fits perfectly. Use a level to ensure the opening is level and plumb.
Step 2: Install the Garage Door Tracks
Next, install the garage door tracks. These tracks will guide the garage door as it opens and closes. Follow the manufacturer’s instructions to secure the tracks to the garage walls. Make sure they are level and properly aligned.
Step 3: Install the Garage Door Opener
Now it’s time to install the garage door opener. This is the mechanism that will open and close the garage door. Follow the manufacturer’s instructions to secure the opener to the garage wall. Make sure it is level and properly aligned.
Step 4: Connect the Garage Door Opener Remote
Connect the garage door opener remote to the opener. This will allow you to open and close the garage door from outside. Follow the manufacturer’s instructions to program the remote and ensure it is working properly.
Step 5: Install the Garage Door
With the tracks and opener in place, it’s time to install the garage door. Follow the manufacturer’s instructions to secure the door to the tracks. Make sure it is properly aligned and securely attached.
Step 6: Test the Garage Door
Once the garage door is installed, it’s time to test it. Open and close the door several times to ensure it is working properly. Check for any issues or malfunctions and make necessary adjustments.
By following these steps, you can successfully install a garage door yourself. Remember to take your time, follow the manufacturer’s instructions, and seek professional help if needed. With a little patience and effort, you’ll have a new garage door that adds value and convenience to your home.